Art Supplies ·
Blogs ·
BUJO ·
Journal Art ·
Journal Club ·
Journal Spreads ·
Journaling ·
Learn to Journal ·
Paint Tulips ·
Self-expression ·
South African Journal ·
Stationery ·
Journal Spreads By Delia
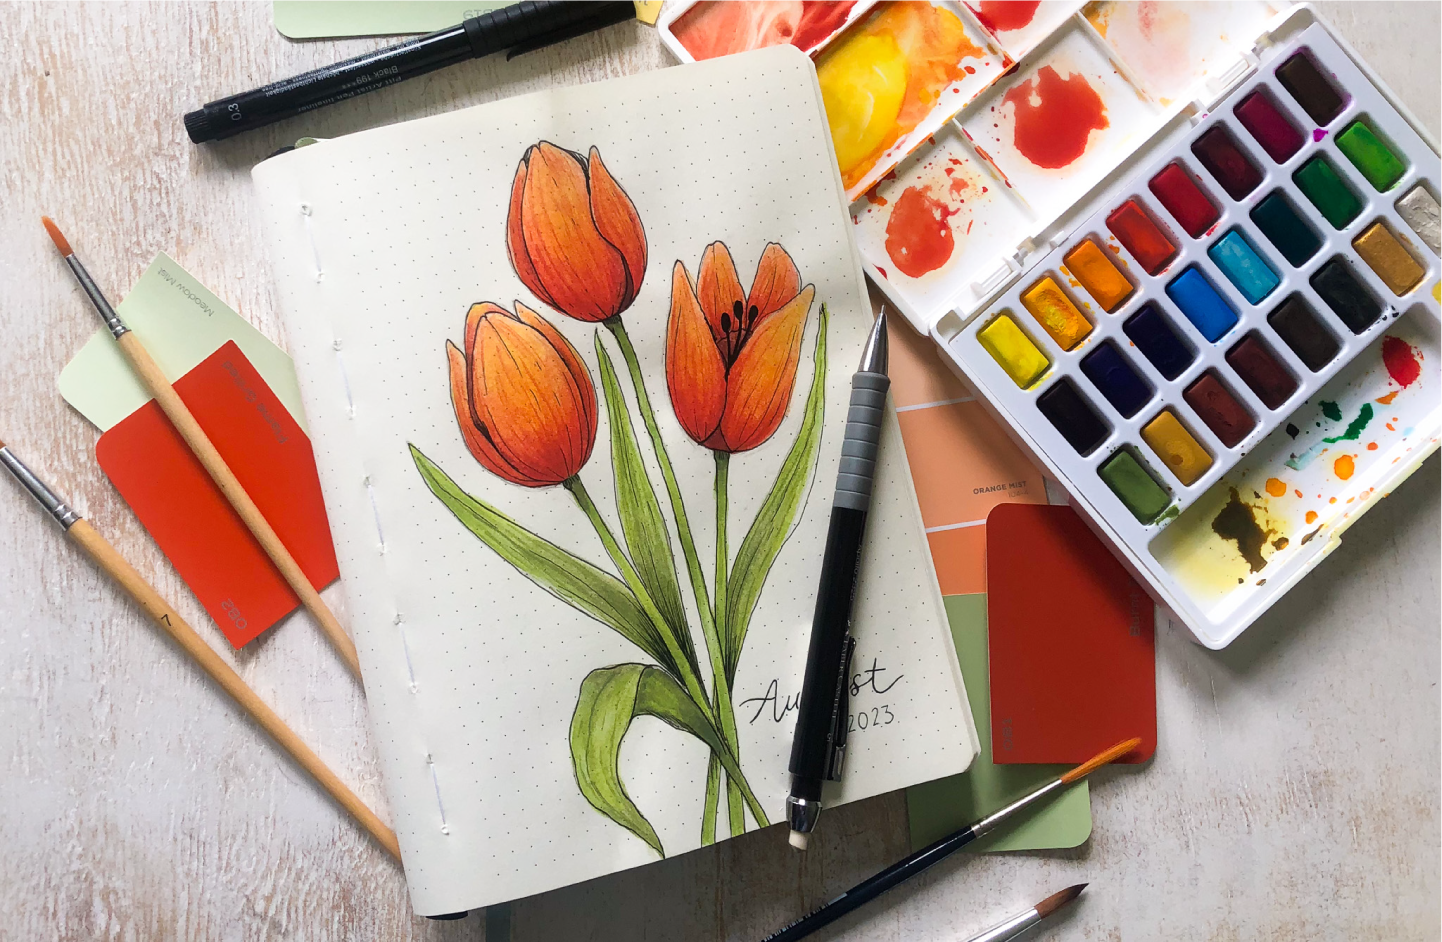
Red Tulips
This beautiful tulip spread is one I created specially for our Journaling club!
This spread requires a journal, watercolour paint, a pencil and a fine-tip black pen.
My journal of choice for spreads is the Premium 160gsm Dotted Journals. They are perfect for simple or more detailed spreads, as the pages handle many mediums without bleeding. (I wouldn't recommend you try using paint in any journal that is less than 120gsm - it will bleed!)
First, I sketched the tulips roughly with my pencil. Next, I painted a base colour of light red for the flowers and a wash of green for the stems and leaves.
Once that dried, I darkened the colour with a deeper red and added some warmth with an orange wash. I also darkened the stems and leaves with a deeper green and then added some colour with a yellow wash at the tips of each leaf.
My final steps were to deepen my painting with some shadows and any final highlights.
After my paint dried, I outlined my artwork with a fine tip black pen to refine the look and wrote the month and year in the bottom right corner.
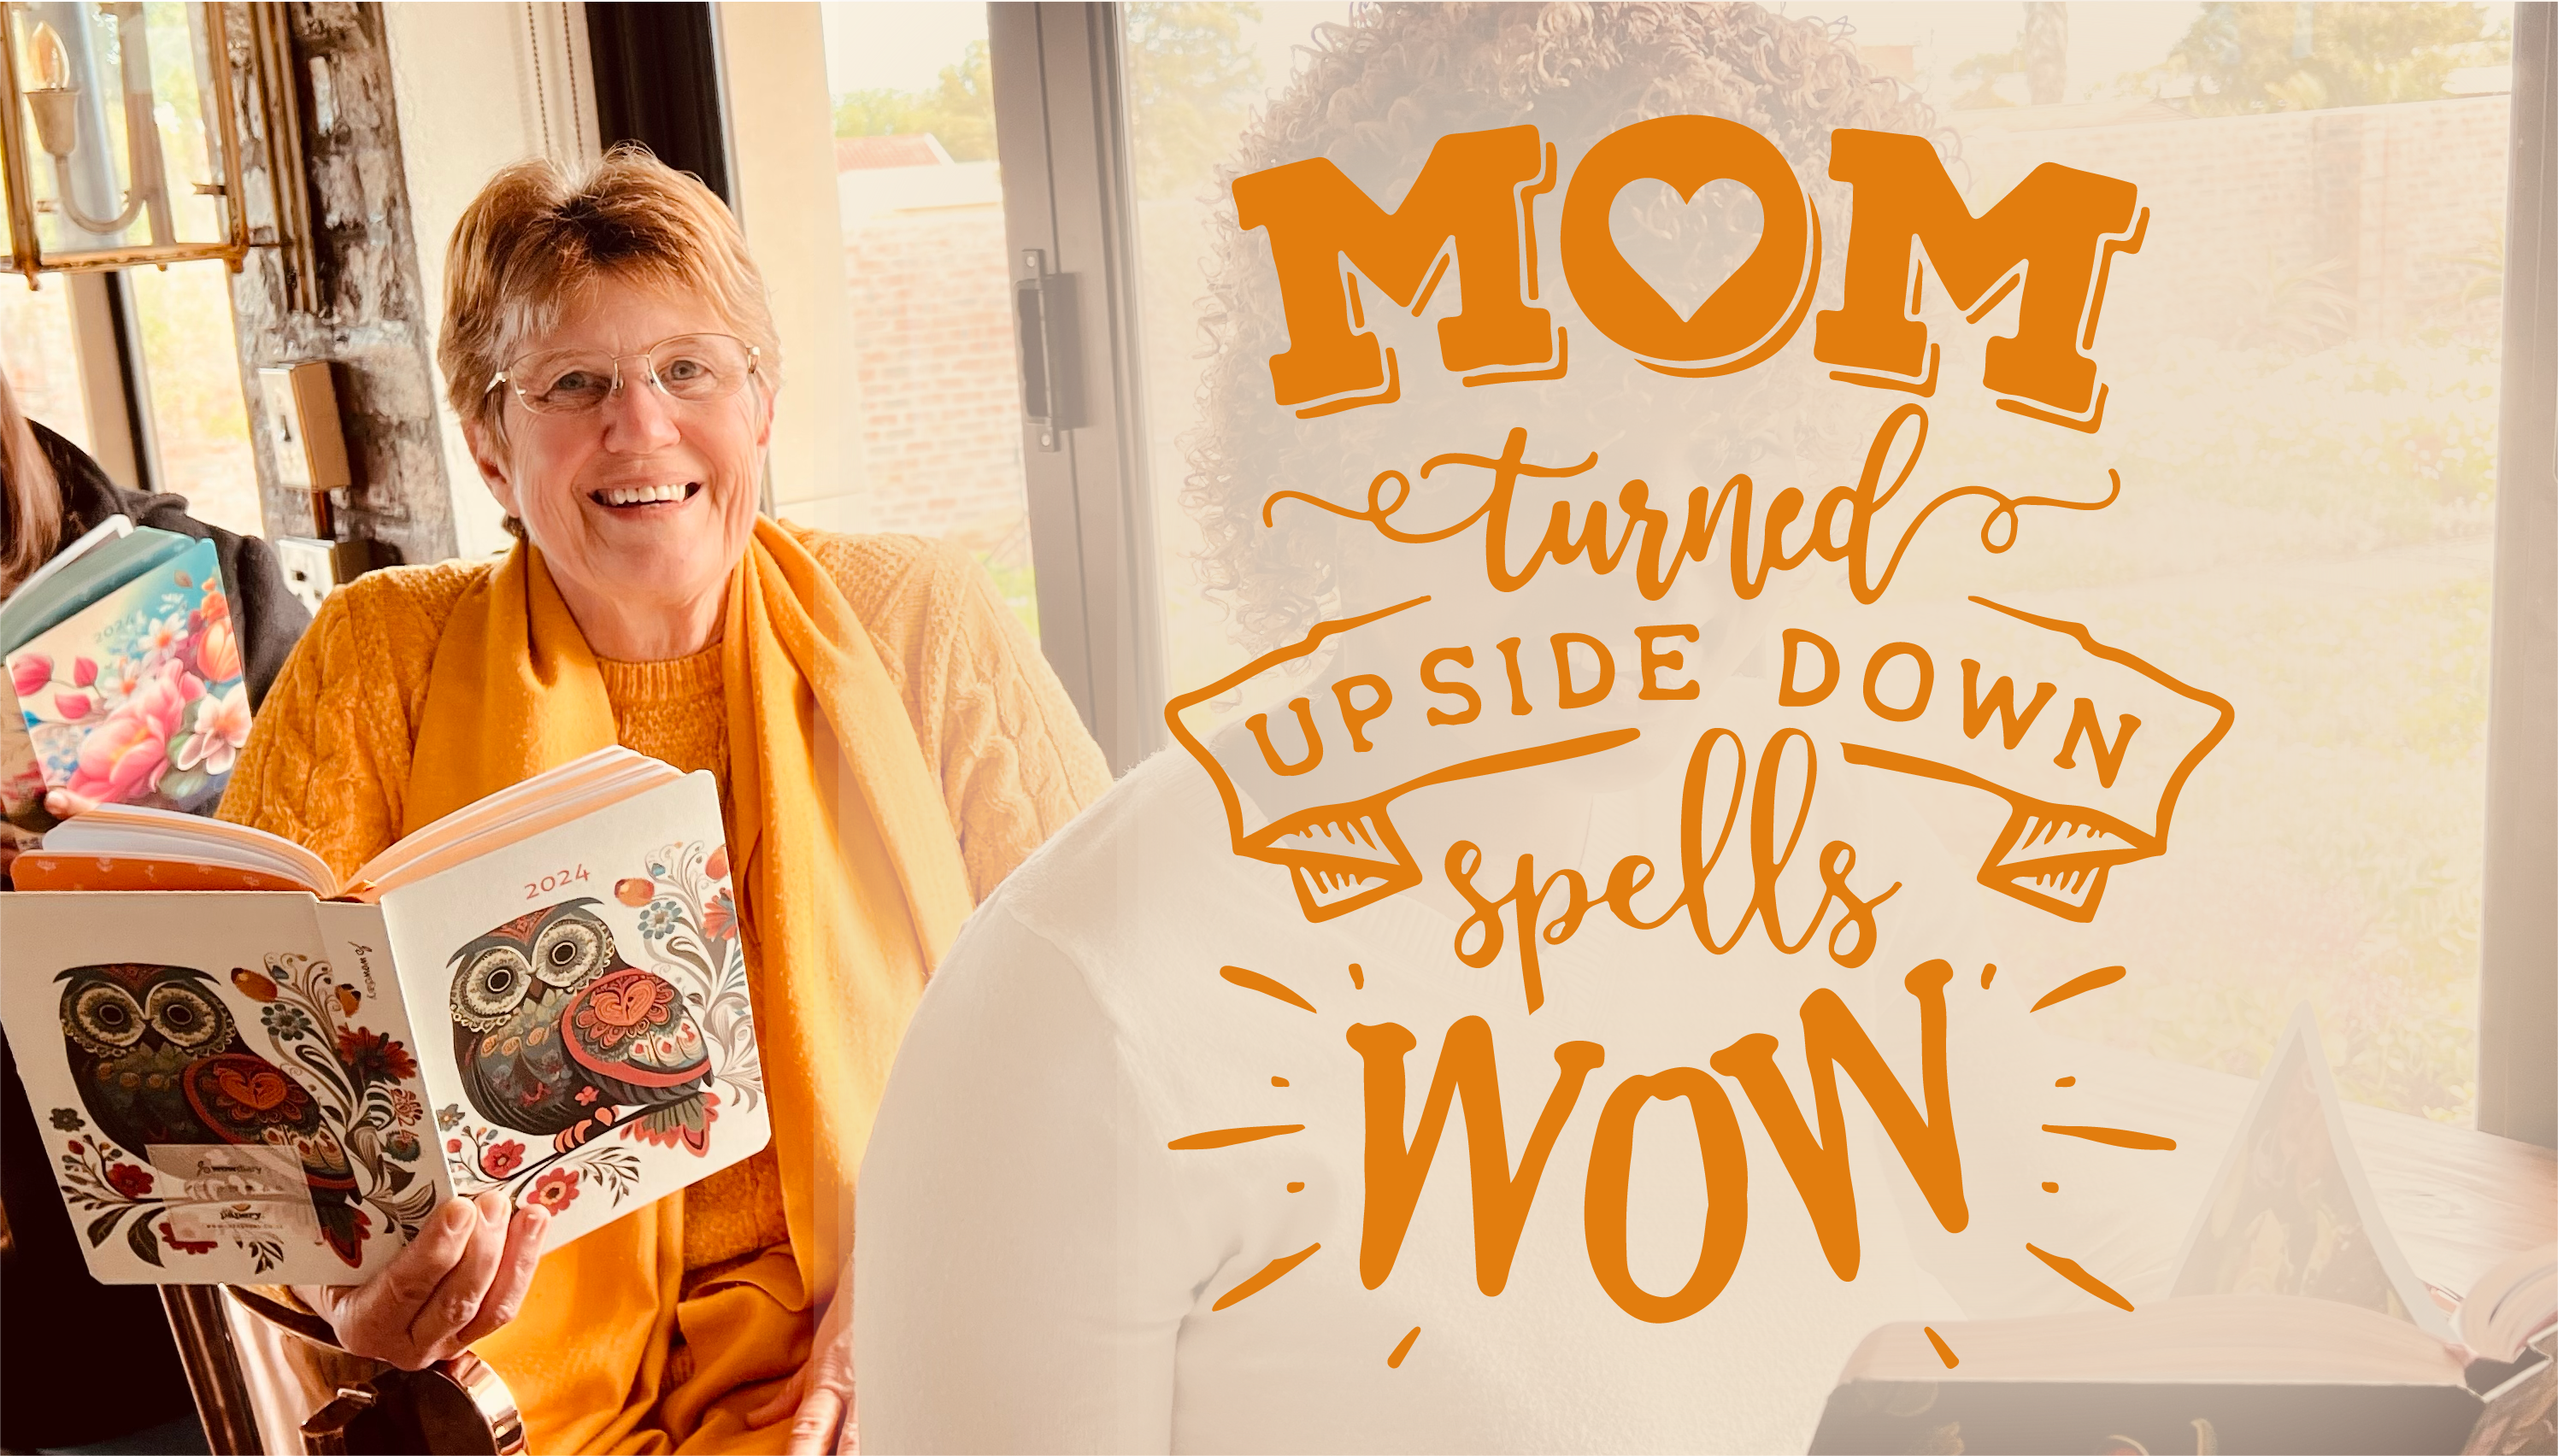
We have themed one of our subscription boxes around this spread. In the Brushes and Blooms Jam Packed box, you get all the tools and equipment AND a video tutorial showing you step by step how to draw and paint these tulips. If you would like to see more, here Judy from Fun Mamma, kindly shared a review of her experience with this box.
Here's a beautiful Tulips painting done by one of our club members!

Blue Daily BUJO Spread

This spread may look complicated, but its actually quite easy to create.
All you need for this spread, is a journal, some blue pens of your choice, a pencil, fine-tip black pen, white pen and some craft paper.
To start this journal spread, I used a pencil to roughly draw and plan the spread.
Next, I cut out a craft paper circle and pasted it in the top left-hand corner and write the month and year in white pen.
Using my pencil again, I sketched the wreathe of flowers around the craft paper circle before filling them in with my blue pens.
Next, I wrote all my titles, calendar and quote with my fine tip black pen and filled in the little flowers next to my days of the week with blue ink.
To add some more character and detail to the spread, I used a white floral and pastel blue washi tape, and pasted it in any spaces that were looking too empty.
As a final touch, I tore some craft paper and washi tape and decorated around my quote.
Want to learn how to create spreads like these step-by-step ?
A vibrant, growing community of journaling and journal art enthusiasts, where you can learn from, and be inspired by, video tutorials and shared knowledge on journaling and journal art.
𝗝𝗼𝗶𝗻 𝘁𝗵𝗲 𝗰𝗹𝘂𝗯 𝗮𝗻𝗱 𝗲𝗺𝗯𝗮𝗿𝗸 𝗼𝗻 𝘆𝗼𝘂𝗿 𝗰𝗿𝗲𝗮𝘁𝗶𝘃𝗲 𝗷𝗼𝘂𝗿𝗻𝗲𝘆!
𝗛𝗼𝘄 𝗗𝗼𝗲𝘀 𝗶𝘁 𝗪𝗼𝗿𝗸?
Being a member of the club will give you access to a some exclusive benefits, available only to club members.
𝗩𝗶𝗱𝗲𝗼 𝗧𝘂𝘁𝗼𝗿𝗶𝗮𝗹𝘀: we will be recording and uploading two videos per month (approximately an hour long each). In these videos we will be showing you journaling tips and tricks and even how to create some beautiful journal artwork.
𝗣𝗿𝗶𝘃𝗮𝘁𝗲 𝗙𝗮𝗰𝗲𝗯𝗼𝗼𝗸 𝗚𝗿𝗼𝘂𝗽: where you can interact with members of The Papery team, as well as like minded journaling fanatics, sharing ideas and spreads.
𝗣𝗿𝗼𝗱𝘂𝗰𝘁 𝗗𝗶𝘀𝗰𝗼𝘂𝗻𝘁𝘀: as if that wasn't enough value, while you are a member of the club, you will automatically qualify for a 10% discount on journaling supplies from The Papery!
𝗖𝗼𝘀𝘁: you get all of this for only R50 per month
(normally R197 - sign up price fixed for 12 months).
𝗪𝗛𝗬 𝗝𝗢𝗜𝗡? It's like having your own private journaling tutor, twice a month, while gaining a bunch of new like minded friends and product discounts to boot.


Leave a comment